

A bmw m4 body kit should make the car look complete, not exaggerated. That is exactly what this owner wanted from the RevoZport Street Version setup.
He was not chasing a show-car look. He wanted a lower, sharper, more balanced M4 that still felt premium and street-usable. The result is a cleaner OEM+ build: more carbon fiber presence, stronger proportions, and no sense that the car has been pushed too far.
The owner’s vision for this BMW M4 is actually very representative of many enthusiasts.
He did not want to turn the car into a showpiece that only looks good in photos, nor did he want the overall appearance to feel overly aggressive or overdone. Instead, he was looking for a more mature and refined upgrade — one that would make the car look lower, more recognizable, and more premium, while still preserving the factory elegance and street usability of the M4.
That is why he ultimately chose the REVOZPORT BMW M4 Street Kit.
Not to make the car look “heavily modified,” but to make the entire build feel more complete.

What Is the RevoZport Street Version BMW M4 Body Kit?
The RevoZport Street Version setup is a carbon fiber exterior package for the BMW M4 G82. In this owner’s build, the key pieces include a front lip, side skirts, rear aero components, and a rear spoiler. Each part supports the same OEM+ direction instead of looking like a random add-on.
RevoZport’s Street Series is built around refined style, daily-road usability, and model-specific fitment. The goal is not to make the M4 look like a race car. It is to make the factory shape look lower, cleaner, and more finished.
Why Choose a Full Body Kit Instead of One Piece?
Many M4 owners start with one piece. They add a front lip first, or a spoiler later. The problem is that the car can start to look unbalanced. One aggressive part does not fix the overall proportions.
This owner wanted the whole car to feel unified. He cared about balance more than any single dramatic detail. The full bmw m4 body kit gave him a consistent design language from the front to the rear. The front end looks lower. The side profile looks longer and closer to the ground. The rear gains structure without looking excessive.

Now, let’s follow the process from our engineer’s perspective and take a closer look at the installation of the complete carbon fiber aerodynamic kit.
Installation Overview
Front Lip Installation
- Remove the 12 screws from the bottom of the front bumper.
- Use the supplied M6×12 bolts to assemble the three-piece front lip.
- Align the front lip with the bumper, peel off the 3M tape backing, then press firmly to secure it in place.

Rear Diffuser Installation
- Remove the original rear diffuser and parking sensors, then clean the installation surface thoroughly. Apply 3M tape to the back of the carbon fiber rear diffuser.
- Transfer the original parking sensors onto the carbon fiber rear diffuser, connect all plugs properly, then align the product clips with the original mounting holes.
- Peel off the 3M tape backing, press the diffuser firmly into place, reinstall the bottom screws, then adjust and install the rear side corner pieces and tow hook cover section.
Side Skirt Installation
- Clean the installation surface on both sides of the vehicle, then apply 3M tape to the designated bonding areas on the back of the side skirts.
- Align the side skirts with the body line, peel off the 3M tape backing, press firmly to secure them, then fasten the supplied self-tapping screws through the pre-drilled holes on the bottom. Use 8 screws on each side.

Carbon Fiber Hood Installation
- Open the original hood and record the original left and right panel gaps, as well as the height reference.
- Remove the original washer nozzles, heat insulation pad, hood latch, and any other transferable components.
- Place the carbon fiber hood onto the vehicle. Lightly install the screws first, but do not fully tighten them.
- Adjust the gaps between the hood and the fenders on both sides.
- Check the height alignment between the front edge of the hood and the upper edge of the front grille.
- Install the hood latch and confirm that the hood opens and closes smoothly.
- If the hood comes with vents or air guide structures, make sure there is no interference underneath.
- Once the best position is achieved, tighten all screws evenly and in sequence.
- Finally, check the opening, closing, locking function, and overall front-end body line.

Carbon Fiber Fender Installation
- Carefully remove the original fender and clean the installation surface thoroughly.
- Transfer the original clips, brackets, or accessories to the carbon fiber fender if required.
- Place the carbon fiber fender onto the vehicle, lightly install the screws first, then adjust the gaps between the fender, hood, front bumper, and door.
- After confirming the best alignment, tighten all screws evenly, reinstall the fender liner, and check that the door opens and closes without interference.

Front Grille Installation
- Remove the front bumper and the original front grille, then clean the installation surface thoroughly.
- Apply 3M tape to the designated bonding areas, align the carbon fiber grille with the original mounting position, press it firmly into place, and reinstall the front bumper.

Rear Spoiler Installation
- Clean the installation surface on the trunk lid thoroughly, then apply 3M tape to the designated bonding areas on the back of the rear spoiler.
- Align the spoiler with the trunk edge, peel off the 3M tape backing, press firmly to secure it, and check that both sides are centered and evenly aligned.

What Makes the Carbon Fiber Weave Look Premium?
Not all carbon fiber looks the same. Cheap parts can look flat, cloudy, or uneven under direct light. The owner of this M4 noticed the difference right away.
RevoZport uses Toray pre-preg carbon fiber and autoclave curing as part of its confirmed brand process. On this build, the visible carbon surface gives the car depth, gloss, and texture without making it look overdone. Up close, the pattern feels consistent enough to match the M4’s premium factory character.
That is the difference between a basic visual add-on and a cleaner bmw m4 modification built around fitment, finish, and proportion.
Is This BMW M4 Body Kit Suitable for Daily Driving?
Many M4 owners do not want a track-only look. They drive to work, meet friends, take photos, and use the car in real life. The Street Version is built for that.
The kit adds carbon fiber presence and a sharper stance, but it does not push the build into an extreme direction. Ground clearance stays practical. The overall look works in parking lots, highways, and weekend events. For someone who wants a better finished M4 without sacrificing usability, this is the right kind of bmw m4 tuning.
Final Verdict: Is the RevoZport Street Version Worth It?
For this owner, the RevoZport Street Version setup was worth it because it solved the exact problem he cared about: the car looked sharper without losing its OEM+ character.
The strongest points are:
· Balanced Design Integration: The front, side, and rear pieces work as one package.
· OE-Level Fitment Direction: The kit follows the factory body lines instead of fighting them.
· Premium Carbon Fiber Finish: Toray pre-preg material and autoclave curing support a cleaner surface and consistent weave.
· Street-Ready Appearance: The car looks lower and more complete without becoming extreme.
This is not about making the M4 louder or more aggressive for the sake of it. It is about making the car feel finished. For an M4 owner who wants a premium street build, that is the right kind of upgrade.
FAQ
Q: What comes in the RevoZport Street Version BMW M4 body kit?
A: The kit includes a front lip, side skirts, rear aero components, and a rear wing. All pieces share the same design language for a unified look.
Q: Is the RevoZport Street Version kit good for daily driving?
A: Yes. The Street Version is designed for OEM+ style and street usability. It sharpens the car’s appearance without making it impractical for normal use.
Q: What type of carbon fiber does RevoZport use?
A: RevoZport uses Japanese Toray pre-preg carbon fiber with autoclave curing. This process produces consistent weave patterns, strong surface finish, and long-term durability.
Explore Our Full Range of Tuning Accessories


BMW M4 G82 Carbon Fiber Front Lip
$805


BMW M4 G82 Carbon Fiber Front Vents
$455


BMW M4 G82 Carbon Fiber Rear Diffuser
$1,435

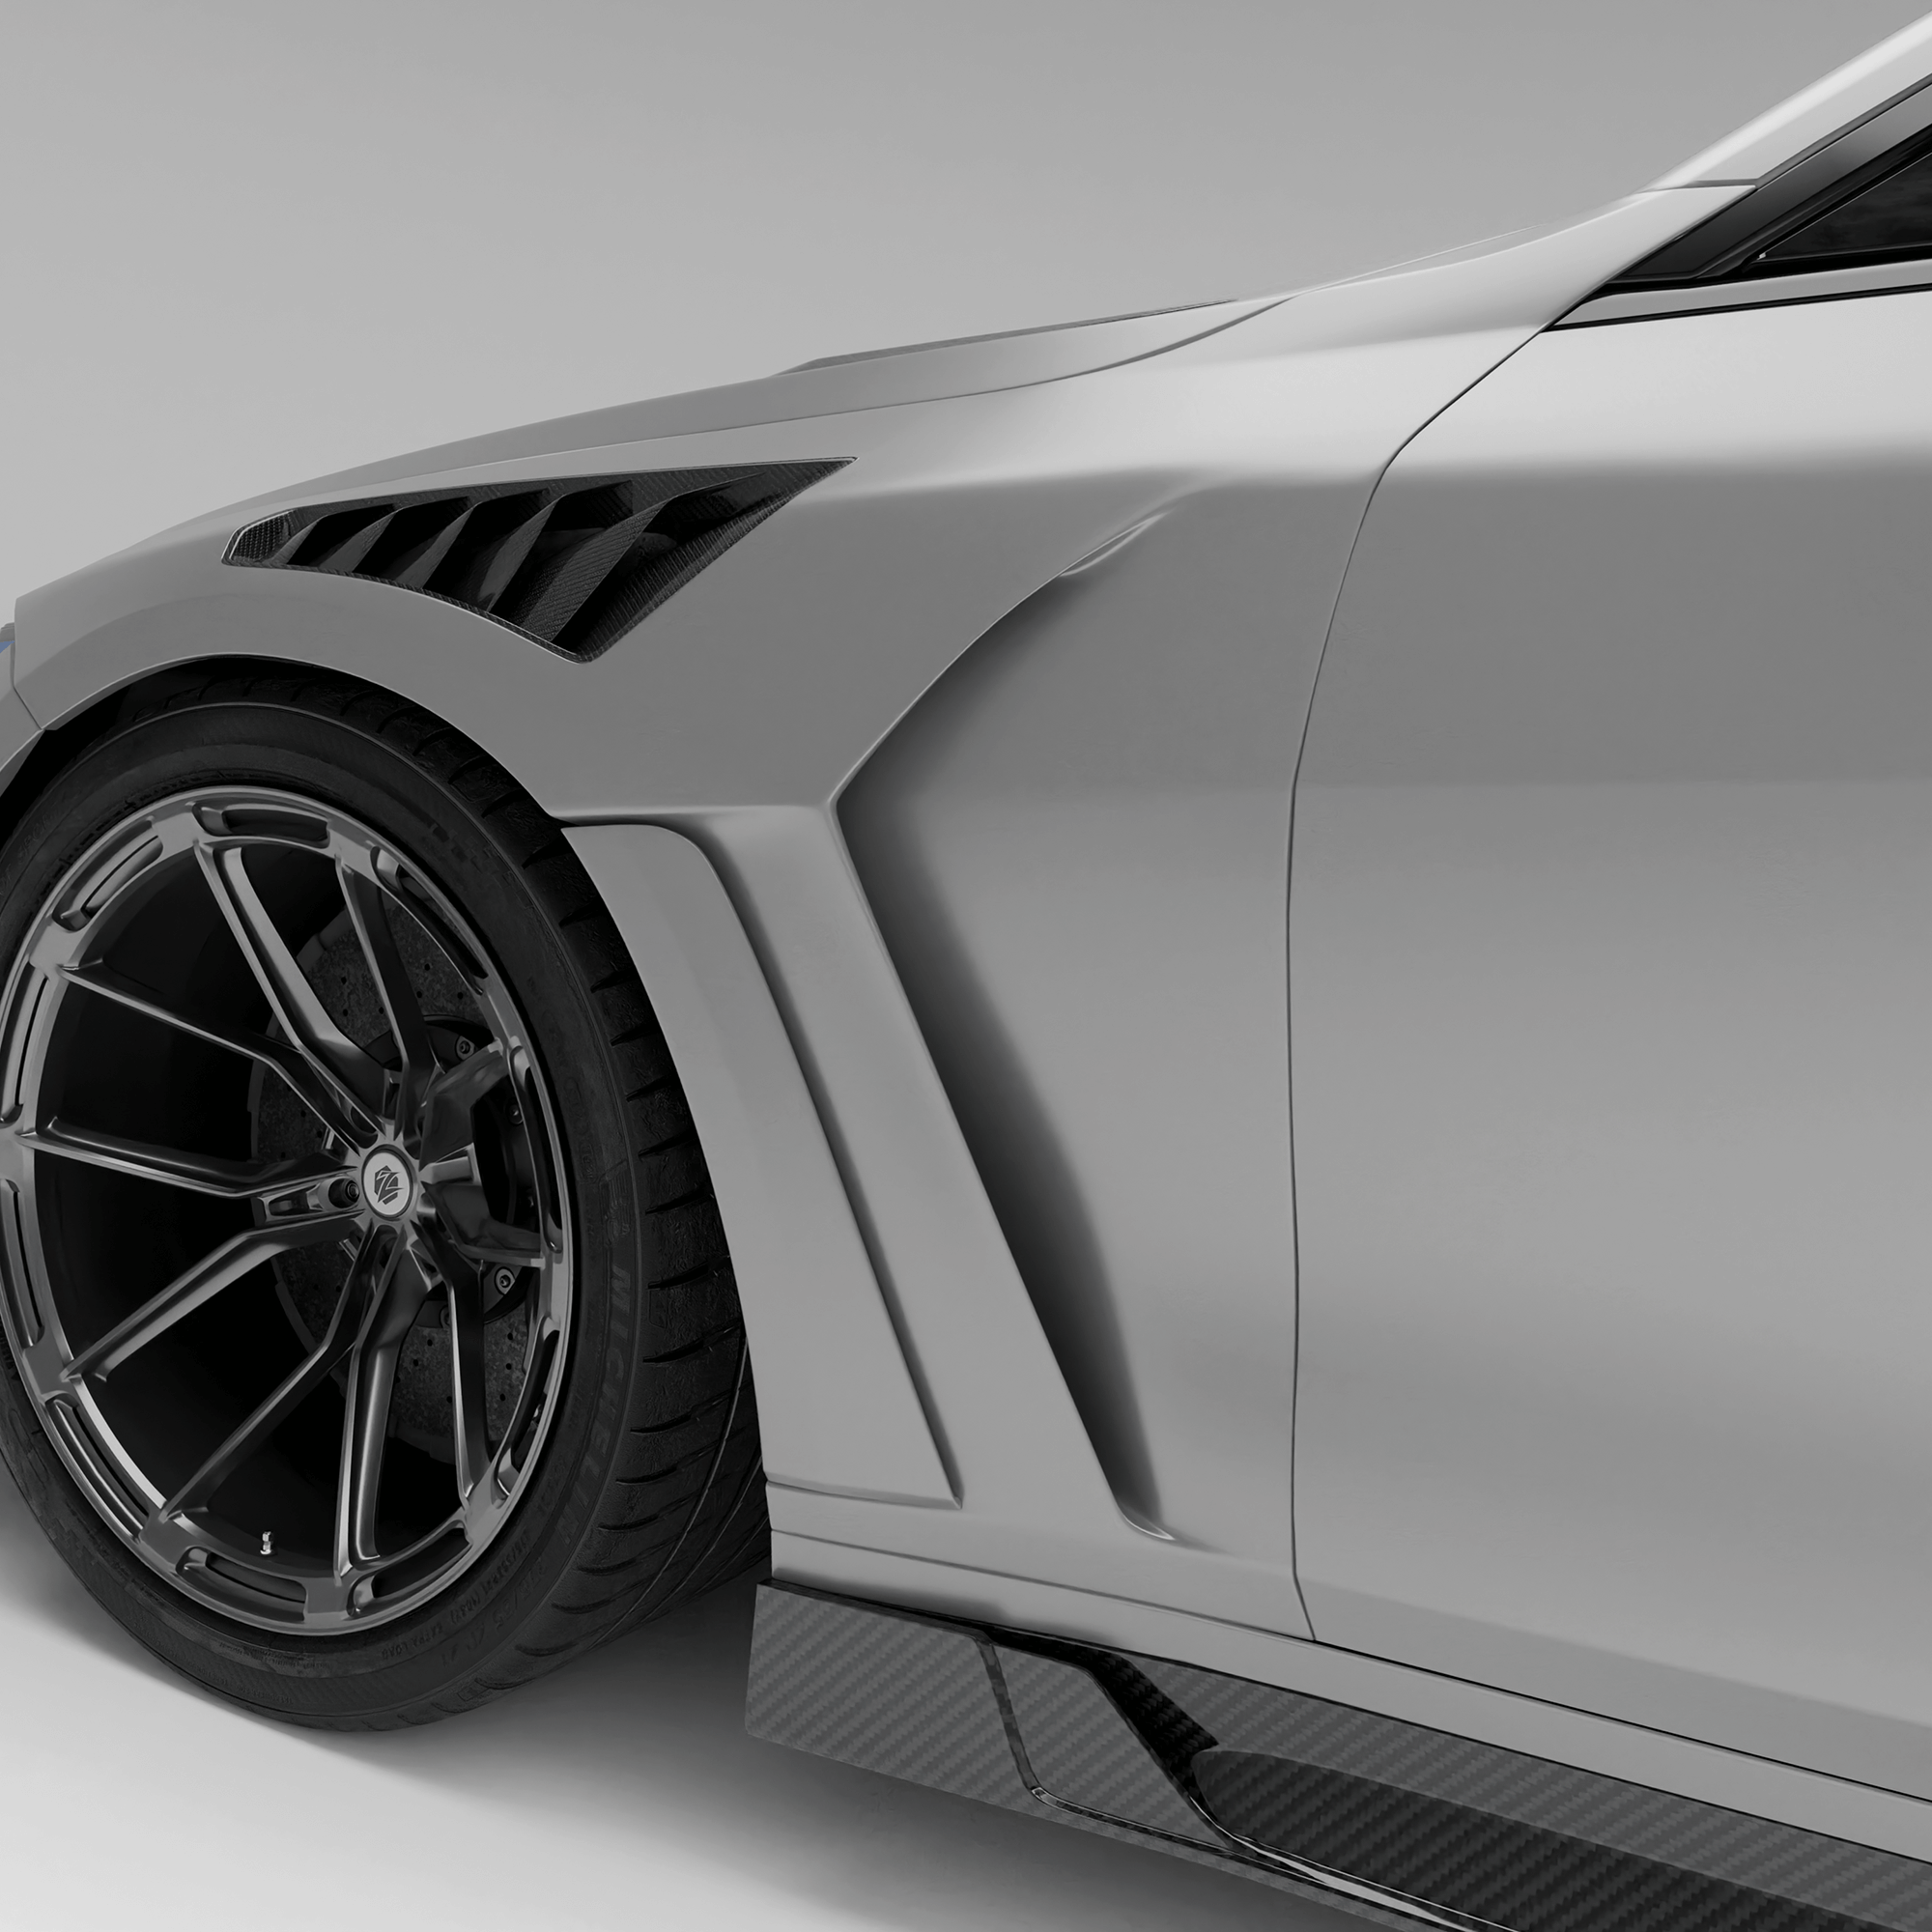


BMW M4 G82 Carbon Fiber Side Fenders
$3,319


0 comments